这篇教程python opencv通过按键采集图片源码写得很实用,希望能帮到您。
一、python版本写了个python opencv的小demo,可以通过键盘按下字母s进行采集图像。 功能说明“N” 新建文件夹 data/ 用来存储图像
“S” 开始采集图像,将采集到的图像放到 data/ 路径下
“Q” 退出窗口
python opencv源码'''“N” 新建文件夹 data/ 用来存储图像"S" 开始采集图像,将采集到的图像放到 data/ 路径下“Q” 退出窗口'''import numpy as np # 数据处理的库 Numpyimport cv2 # 图像处理的库 OpenCvimport os # 读写文件import shutil # 读写文件from PIL import Image, ImageDraw, ImageFont# # OpenCv 调用摄像头 / Use cameracap = cv2.VideoCapture(0)cap.set(cv2.CAP_PROP_FRAME_WIDTH,1920)cap.set(cv2.CAP_PROP_FRAME_HEIGHT,1080)'''#功能函数,只是用来往图片中显示汉字#示例 img = cv2ImgAddText(cv2.imread('img1.jpg'), "大家好,我是片天边的云彩", 10, 65, (0, 0, 139), 20)参数说明:img:OpenCV图片格式的图片text:要写入的汉字left:字符坐标x值top:字符坐标y值textColor:字体颜色:textSize:字体大小'''def cv2ImgAddText(img, text, left, top, textColor=(0, 255, 0), textSize=20): if (isinstance(img, np.ndarray)): # 判断是否OpenCV图片类型 img = Image.fromarray(cv2.cvtColor(img, cv2.COLOR_BGR2RGB)) # 创建一个可以在给定图像上绘图的对象 draw = ImageDraw.Draw(img) # 字体的格式 fontStyle = ImageFont.truetype( "font/simsun.ttc", textSize, encoding="utf-8") # 绘制文本 draw.text((left, top), text, textColor, font=fontStyle) # 转换回OpenCV格式 return cv2.cvtColor(np.asarray(img), cv2.COLOR_RGB2BGR)# 存储图像的文件夹 current_dir = ""# 保存 图像 的路径 path_photos_from_camera = "data/"press_n_flag = 0cnt_ss=0while cap.isOpened(): flag, img_rd = cap.read() #print(img_rd.shape) kk = cv2.waitKey(2) # 待会要写的字体 / Font to write font = cv2.FONT_ITALIC # 4. 按下 'n' 新建存储人脸的文件夹 / press 'n' to create the folders for saving faces if kk == ord('N') or kk == ord('n'): current_dir = path_photos_from_camera #os.makedirs(current_dir) if os.path.isdir(current_dir): pass else: os.mkdir(current_dir) print('/n') print("新建的保存图像的文件夹 / Create folders: ", current_dir) press_n_flag = 1 # 已经按下 'n' / have pressed 'n' # 5. 按下 's' 保存摄像头中的图像到本地 / Press 's' to save image into local images if kk == ord('S') or kk == ord('s'): # 检查有没有先按'n'新建文件夹 / check if you have pressed 'n' if press_n_flag: cnt_ss += 1 cv2.imwrite(current_dir + "/img_" + str(cnt_ss) + ".jpg", img_rd) print("写入本地 / Save into:", str(current_dir) + "/img_face_" + str(cnt_ss) + ".jpg") else: print("请在按 'S' 之前先按 'N' 来建文件夹 / Please press 'N' before 'S'") # 添加说明 / Add some statements #cv2.putText(img_rd, "Face Register", (20, 40), font, 1, (0, 255, 0), 1, cv2.LINE_AA) img_rd = cv2ImgAddText(img_rd, "图片采集系统", 160, 25, (0, 255,0), 30) #cv2.putText(img_rd, "N: Create face folder", (20, 350), font, 0.8, (0, 255, 0), 1, cv2.LINE_AA) img_rd = cv2ImgAddText(img_rd, "N: 创建保存图像文件夹", 20, 350, (0, 255, 0), 20) #cv2.putText(img_rd, "S: Save current face", (20, 400), font, 0.8, (0, 255, 0), 1, cv2.LINE_AA) img_rd = cv2ImgAddText(img_rd, "S: 保存当前图片", 20, 400, (0, 255, 0), 20) #cv2.putText(img_rd, "Q: Quit", (20, 450), font, 0.8, (0, 0, 0), 1, cv2.LINE_AA) img_rd = cv2ImgAddText(img_rd, "Q: 退出", 20, 450, (0, 255, 0), 20) # 6. 按下 'Q' 键退出 / Press 'q' to exit if kk == ord('Q') or kk == ord('q'): break # 如果需要摄像头窗口大小可调 / Uncomment this line if you want the camera window is resizeable cv2.namedWindow("camera", 0) cv2.imshow("camera", img_rd)# 释放摄像头 / Release camera and destroy all windowscap.release()cv2.destroyAllWindows()效果图
安装相关库windows安装 tx2/linux/… sudo apt-get install python3-pillow 二、c语言版本 c语言源码/*****************************************************2021.5.18:按键采集图像******************************************************/#include "opencv2/core/core.hpp" #include "opencv2/imgproc/imgproc.hpp" #include "opencv2/calib3d/calib3d.hpp" #include "opencv2/highgui/highgui.hpp" #include <iostream> #include <fstream> using namespace cv;using namespace std;#define SRC_WIDTH 1920#define SRC_HEIGHT 1080int main(){ //测试视频 VideoCapture capture; capture.open(1); //capture.open("v4l2src device=/dev/video4 ! video/x-raw,width=1920,height=1020,framerate=30/1 ! videoconvert ! appsink"); if (!capture.isOpened()) { printf("文件打开失败"); } capture.set(CAP_PROP_FRAME_WIDTH, SRC_WIDTH); //设置宽度 capture.set(CAP_PROP_FRAME_HEIGHT, SRC_HEIGHT); //设置长度 Mat frame; int n = 0; char* cstr = new char[120]; while (true) { capture >> frame; if (frame.data == NULL) { printf("Image is empty/n"); //writer.write(frame); break; //continue; } char kk=waitKey(2); if (kk == 'S' || kk == 's') { sprintf(cstr, "%s%d%s", "caliberation/", n++, ".jpg"); imwrite(cstr, frame); printf("保存了图片/n"); } namedWindow("111", 0);//参数为零,则可以自由拖动 imshow("111", frame); waitKey(2); } return 0;}效果图 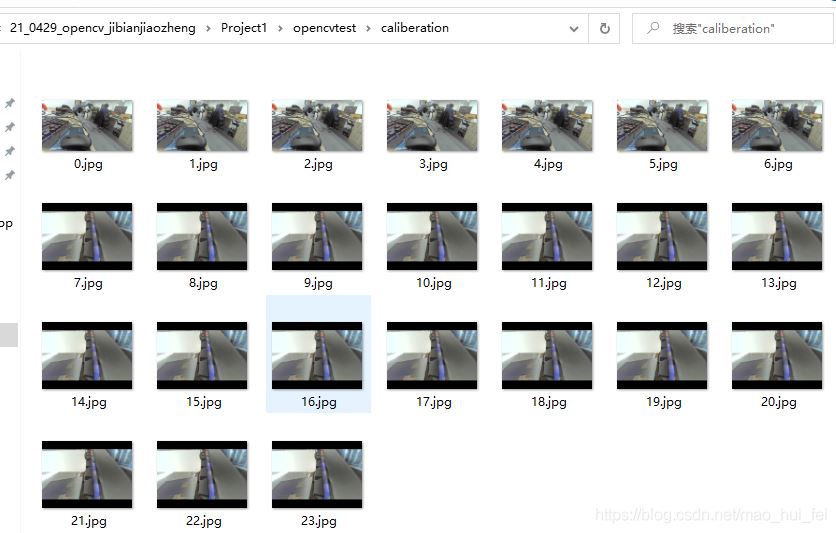
到此这篇关于opencv通过按键采集图片源码的文章就介绍到这了,更多相关opencv按键采集图片内容请搜索51zixue.net以前的文章或继续浏览下面的相关文章希望大家以后多多支持51zixue.net!
python 如何执行控制台命令与操作剪切板
python使用glob检索文件的操作 |

